Skip to main content
Login
Resident
Login Opens in a new tab
Applicant
Login Opens in a new tab
Phone Number
+1 855-851-6280
Home
Amenities
Floor Plans
Photos
Map
Contact Us
Home
Amenities
Floor Plans
Photos
Map
Contact Us
Login
Resident
Login Opens in a new tab
Applicant
Login Opens in a new tab
GALLERY
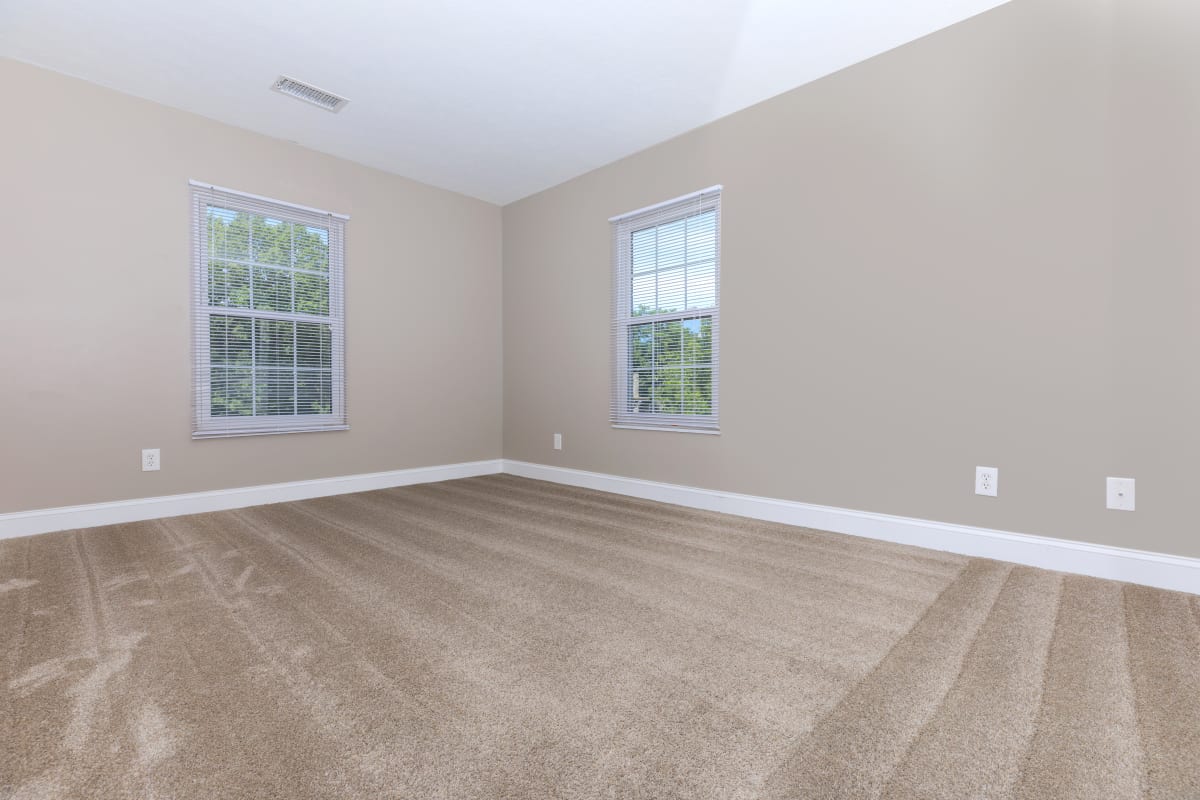
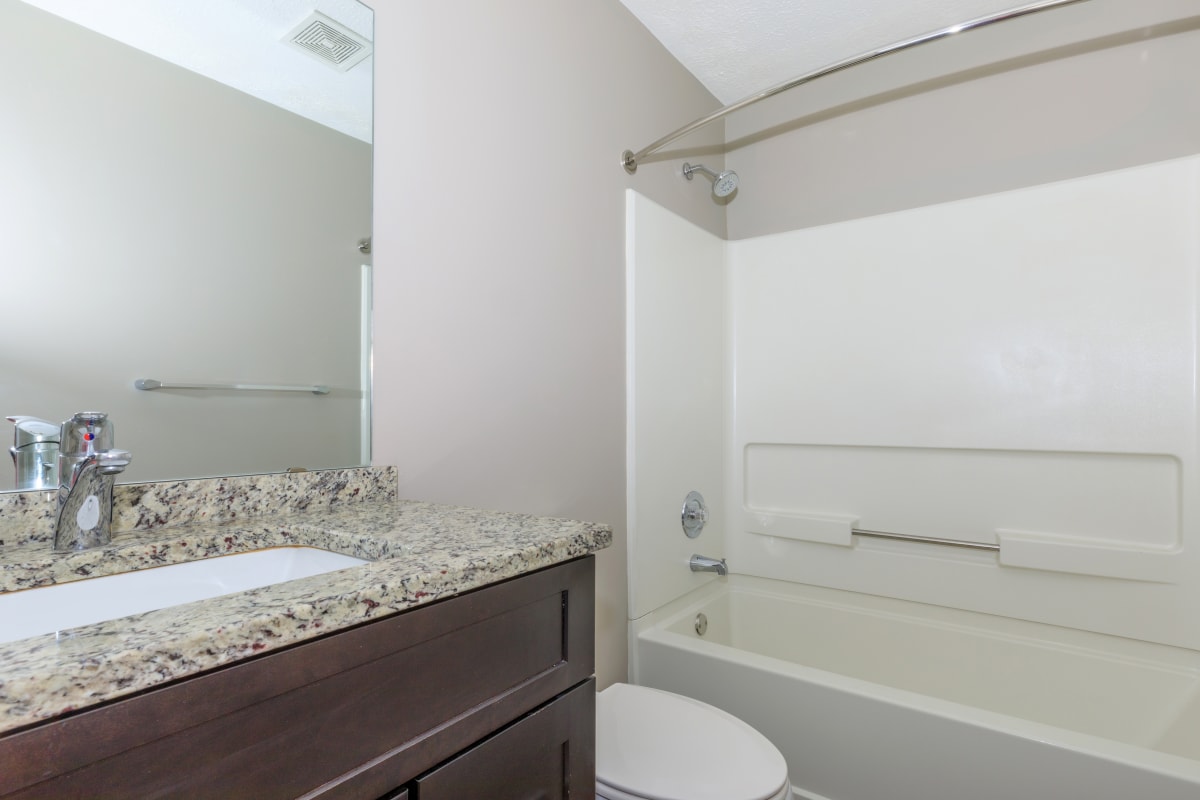
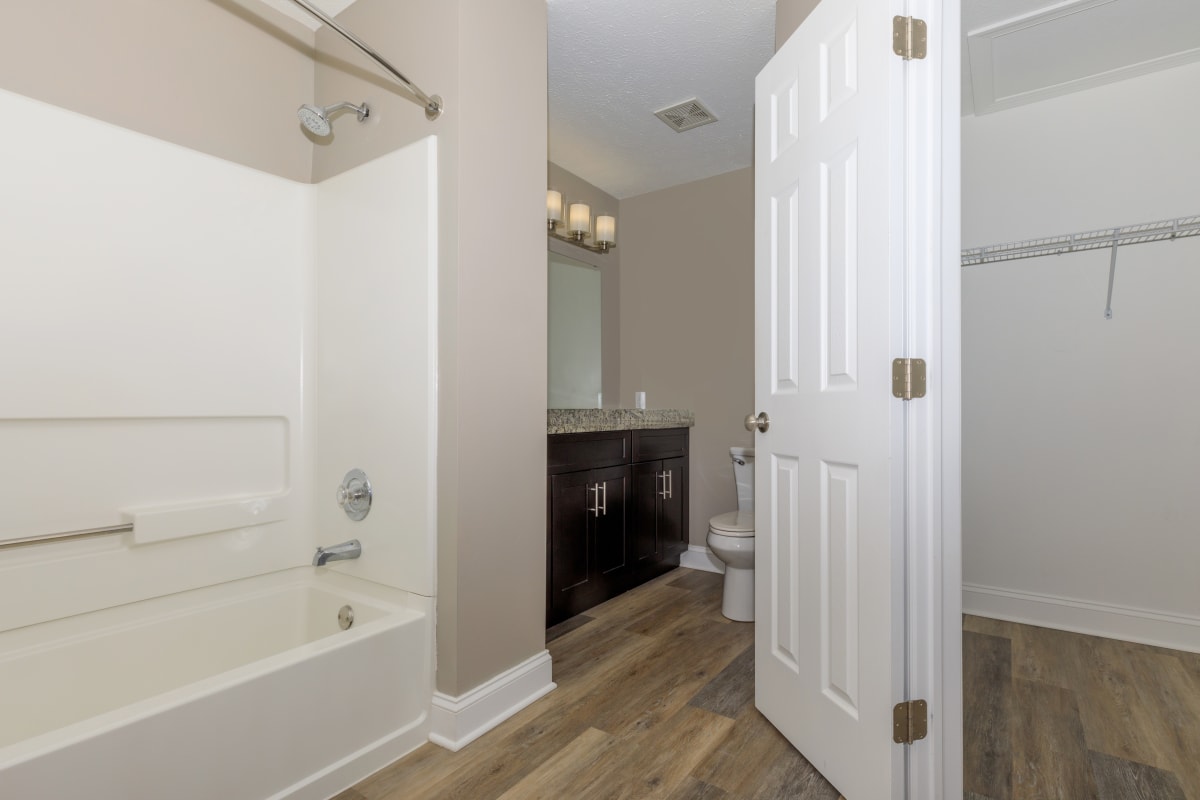
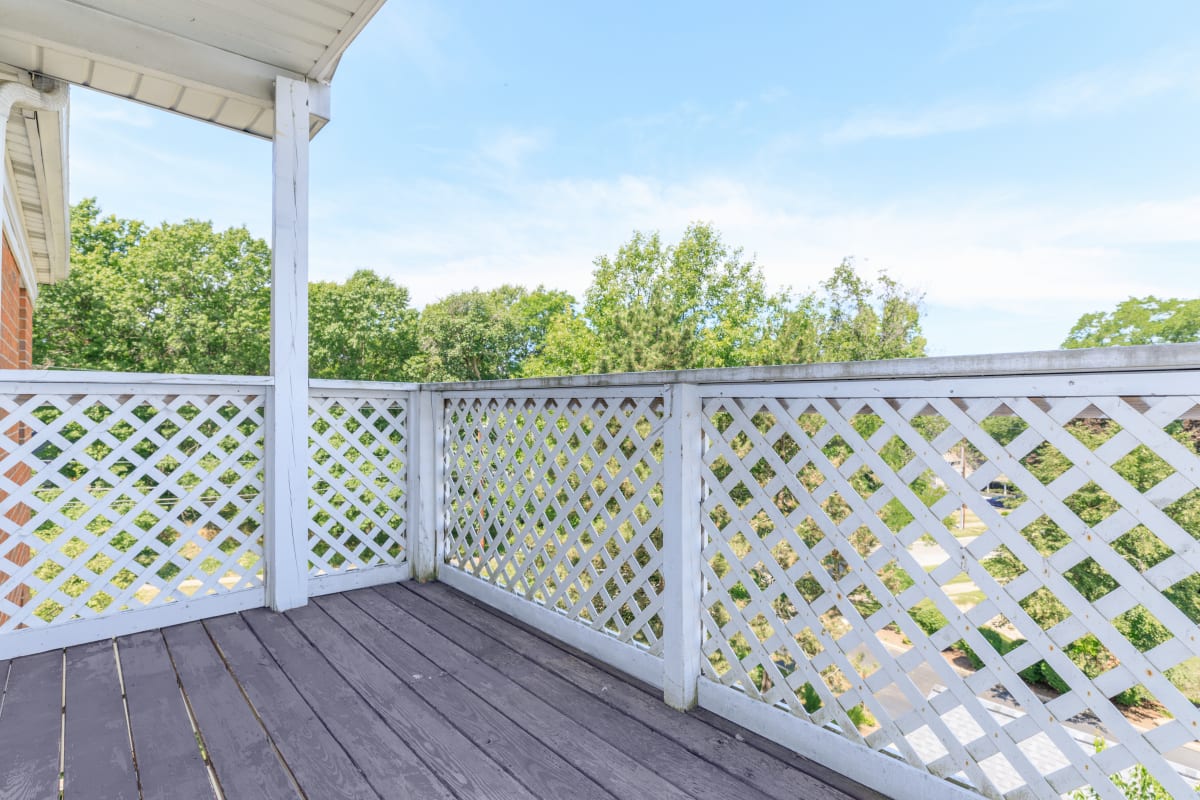
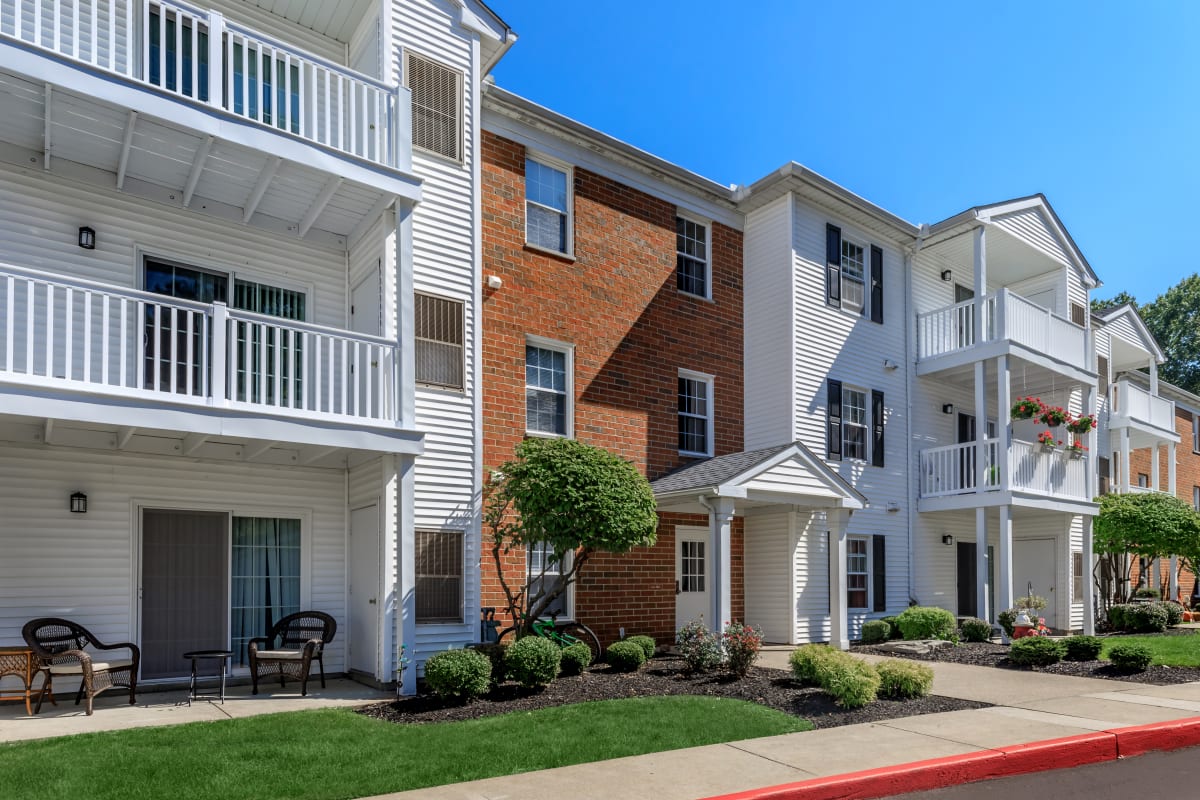
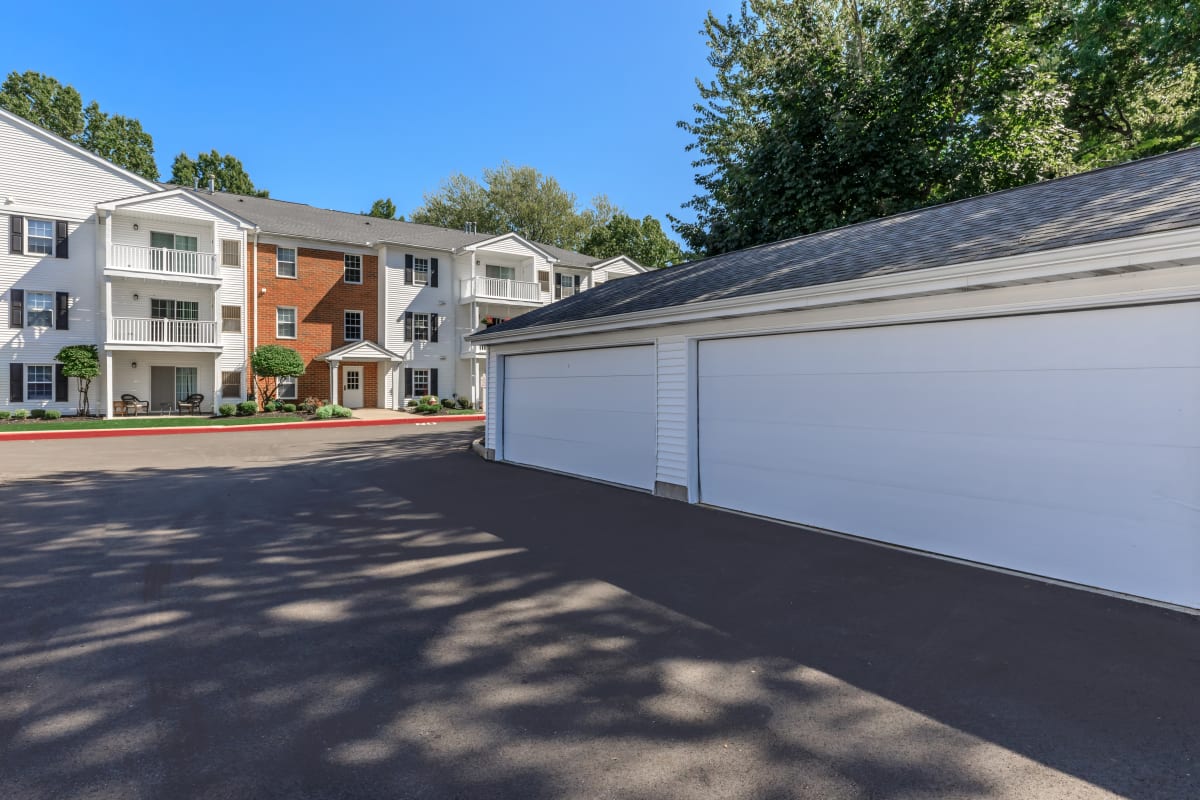
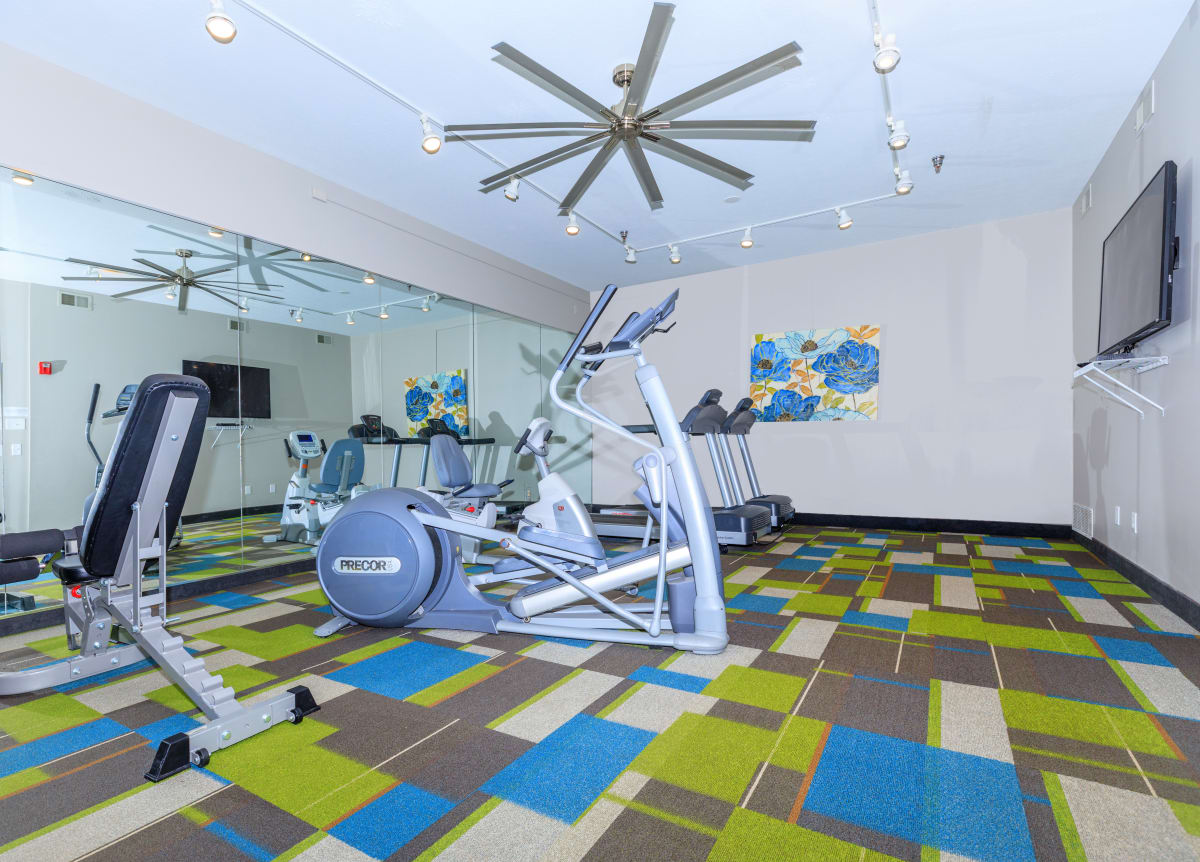
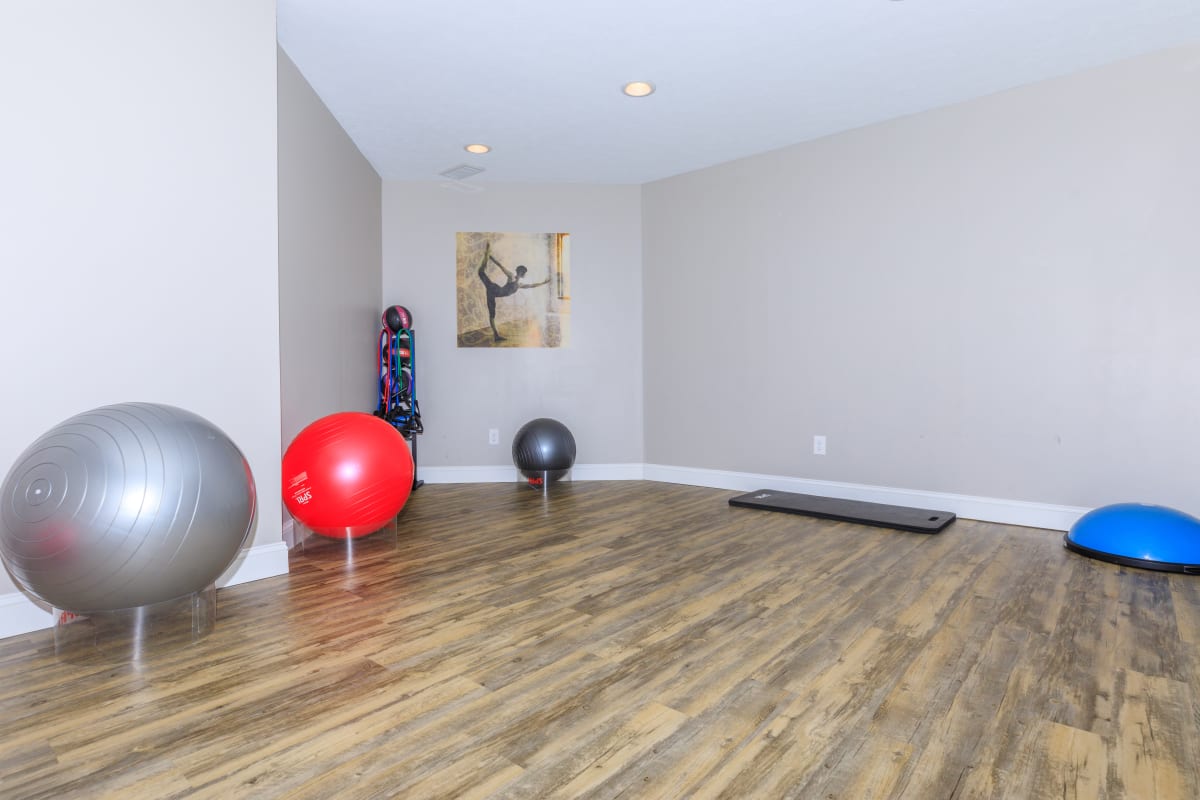
Photo Gallery
1 of 31
2 of 31
3 of 31
4 of 31
5 of 31
6 of 31
7 of 31
8 of 31
9 of 31
10 of 31
11 of 31
12 of 31
13 of 31
14 of 31
15 of 31
16 of 31
17 of 31
18 of 31
19 of 31
20 of 31
21 of 31
22 of 31
23 of 31
24 of 31
25 of 31
26 of 31
27 of 31
28 of 31
29 of 31
30 of 31
31 of 31
Go to top
Front desk options
Email Us
Call Us
Contact Us
Call Us
Phone Number
+1 855-851-6280
Monday:
9 AM
to
- 5 PM
Tuesday:
9 AM
to
- 5 PM
Wednesday:
9 AM
to
- 5 PM
Thursday:
9 AM
to
- 5 PM
Friday:
9 AM
to
- 5 PM
Saturday:
Closed
Sunday:
Closed
Westfield Apartments
29050 Detroit Road
Westlake
,
OH
44145
Opens in a new tab
.png)
.jpg)
.jpg)
.jpg)
.jpg)
.jpg)
.jpg)
.jpg)
.jpg)
.jpg)
.jpg)
.jpg)
.jpg)


.jpg)
.jpg)
.jpg)
.jpg)
.jpg)
.jpg)
.jpg)
.jpg)
.jpg)
.jpg)
.jpg)
.jpg)